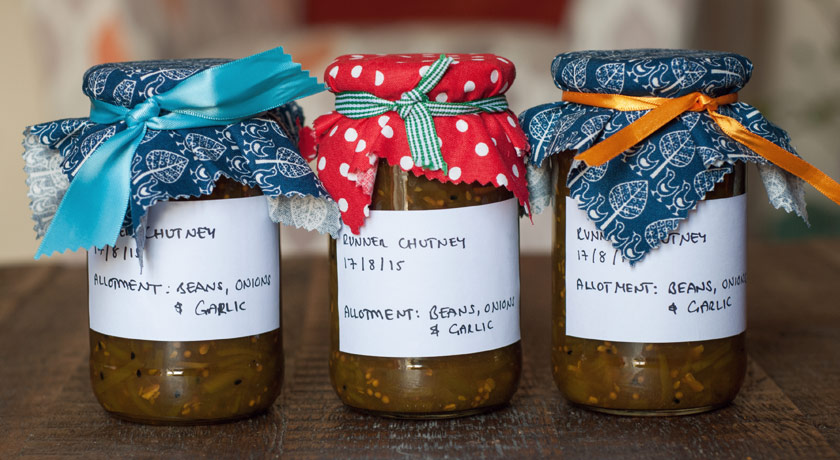
This chutney started with a glut of runner beans a couple of years ago. I can’t remember how I discovered it but it’s become my favourite chutney and I look forward to a surplus of beans so I can make it. This year, the runner beans, onions and garlic are all from our allotment 🙂
Most people I mention it to have never heard of it so I thought I’d share my recipe. If you search online for runner bean chutney recipes you’ll find they are largely the same but it’s the seasonings that vary. I’ve added nigella because I like the flavour and sesame seeds create a nice texture.
You will need
Ingredients
- 1.2kg of runner beans
- 900g onions (approx 6 large onions)
- 500g demerera sugar
- 300g light soft brown sugar
- 1 litre of vinegar
- 5 tablespoons of cornflower (for thickening and a silky texture)
- 2 tablespoons of ground turmeric (for colour)
- 2 tablespoons of mustard seeds
- 2 tablespoon of toasted sesame seeds
- 1 tablespoon of nigella (optional)
- 2 cloves of garlic, chopped
- Generous pinch of salt for blanching the beans
Makes 6 jars (1lb/454g) of chutney.
Equipment
- Jam pan or large saucepan
- Metal spoon
- Jam funnel (optional but makes life easier)
- Bean slicer (if you want thinner slices of beans
- 6 jars with lids
- Pot covers and ribbon if you want to pretty your jars up
Runner bean chutney recipe
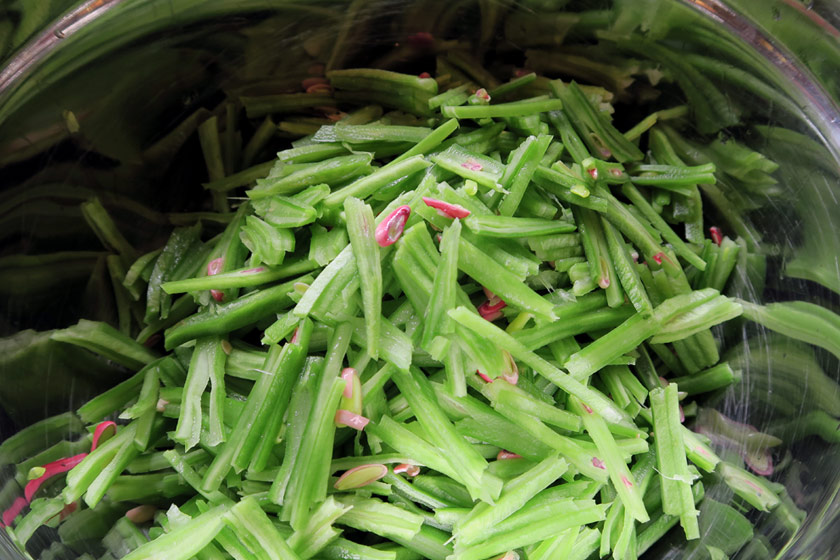
1. Cut or slice the beans
I used a bean slicer to slice my beans into ribbons. I then cut them into pieces about an inch long. If you don’t have a slicer, use a knife and remove any string you come across.
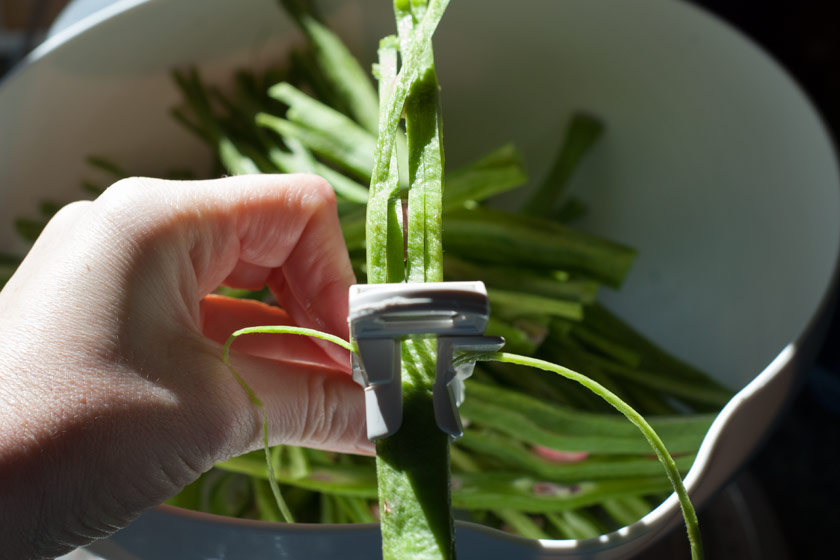
^ See how it removes the string from the beans? Amazing little gadget!
2. Blanch beans
Place your beans into a pan of salted, boiling water for 1 minute. Then drain the beans and put them in a bowl of cold water. Once cool, drain.

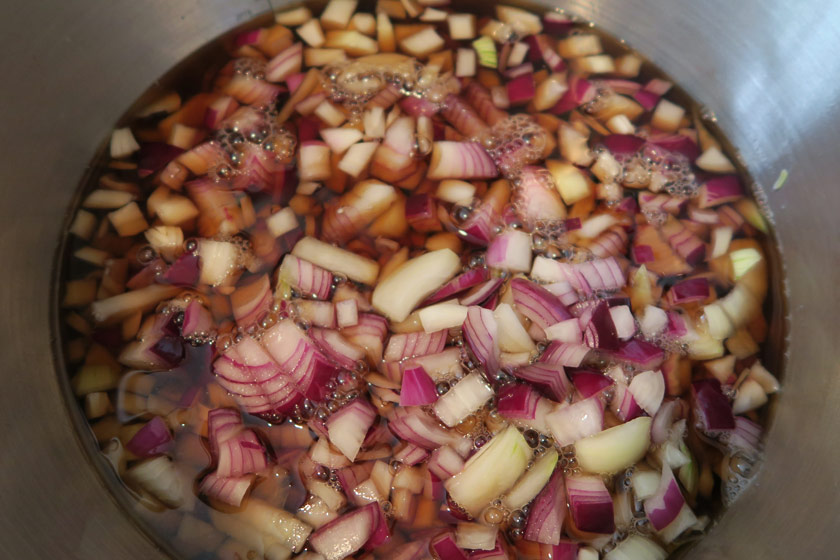
3. Chop onions
Chop your onions – how small is down to personal preference. I chopped mine to roughly 1cm so they wouldn’t cook down to nothing.
4. Simmer onions
Put the onions in your jam pan and simmer in half of the vinegar for 15 minutes. The onions will start to soften and the vinegar reduce. I nicknamed this stage ‘vinegar lung’ because you’re basically breathing in vinegar fumes for 15 minutes. It’s pretty stinky so make sure you open your windows.
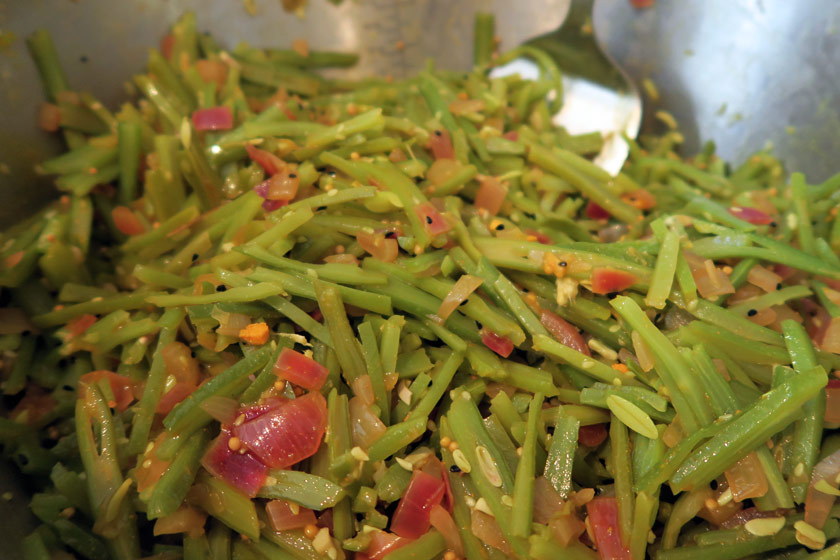
5. Add the beans
Add the beans and garlic to the onion/vinegar mixture and stir well.
6. Add the seasonings and cornflower
Mix your seasonings together with the cornflower with a splash of vinegar to form a rough paste. Stir well to evenly coat the vegetables.

7. Add remaning vinegar and the sugar
Add the last of the vinegar and the sugar. Mix and heat this slowly until the sugar has dissolved. If you crank up the heat and try to melt the sugar too quickly it’ll stick to the bottom of the pan and burn.
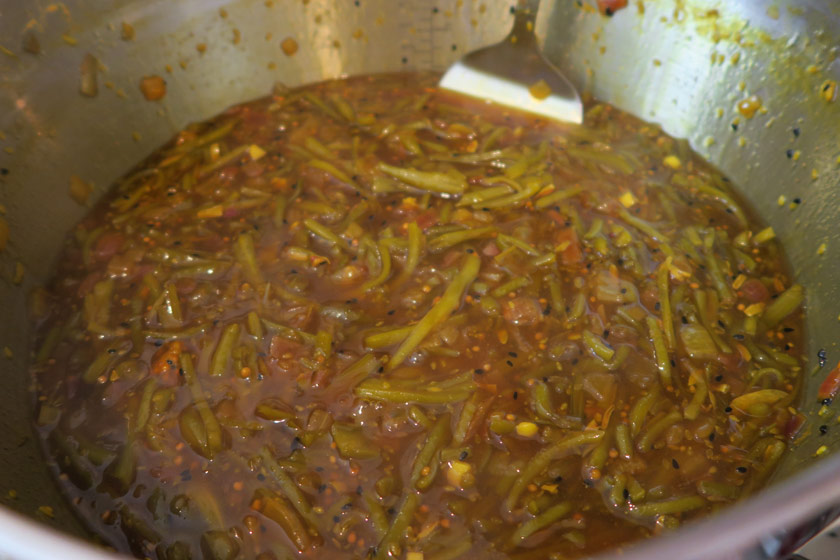
8. Cook chutney down
Once the sugar has dissolved bring your chutney mixture to the boil, then reduce the heat and simmer for 45 minutes to an hour. Stir every so often to prevent sticking. Sorry about the quality of the next two photos, I didn’t want to dangle my head over a pot of bubbling vinegar an longer than I had to!
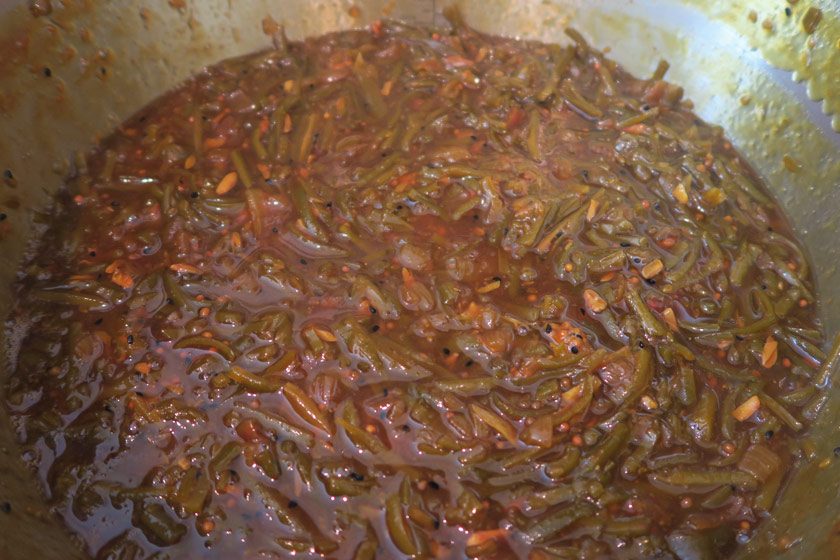
When your chutney turns thicker and darker, it’s ready to jar! If you aren’t sure, Delia Smith has a simple way to test whether it’s ready or not:
“When the chutney appears thick enough, make a channel with a wooden spoon across its surface. If it leaves a channel imprinted for a few seconds without being filled by spare vinegar, it is ready.”
Delia Online: how to make chutneys and pickles
9. Jar
Pour into sterilised jars (learn how to sterilise jars here) and seal straight away. Make sure the rim of your jar is clean before you put the lid on or you won’t get a good seal and the chutney could spoil.
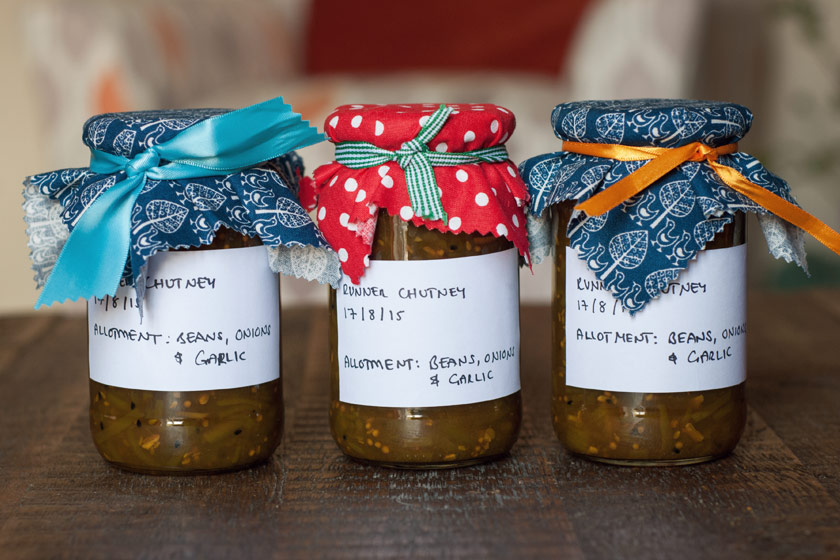
^ I bodged the labels a bit. Nice labels have been on my to-do list for a very long time.
10. Leave to mature
Store in a cool dark place for leave for 8-12 weeks to mature (a true test of patience!). During this time the beans and onions will absorb the vinegar and the acidity/harshness will mellow. If stored correctly your chutney should last for a year. But if you open a jar and see any mould throw it away.
If you try this recipe let me know what you think! You can mix different types of green beans if you don’t have enough runner beans. Although if you’re growing them, chances are you’ve ended up here because you have more than you can eat 🙂
Hey Gemma, awesome post! Gonna send this link to my Mum – she’s on the lookout for a new runner bean chutney recipe 🙂
Hope she likes it Cate!
Hi…We have a glut of runner beans this year so i am looking to preserve them.
quick question… What type of vinegar do you use?
Thanks
Hi! I used malt vinegar for this recipe. If you don’t have any malt, cider vinegar and white vinegar also work well (your chutney will be a little paler). Enjoy 🙂