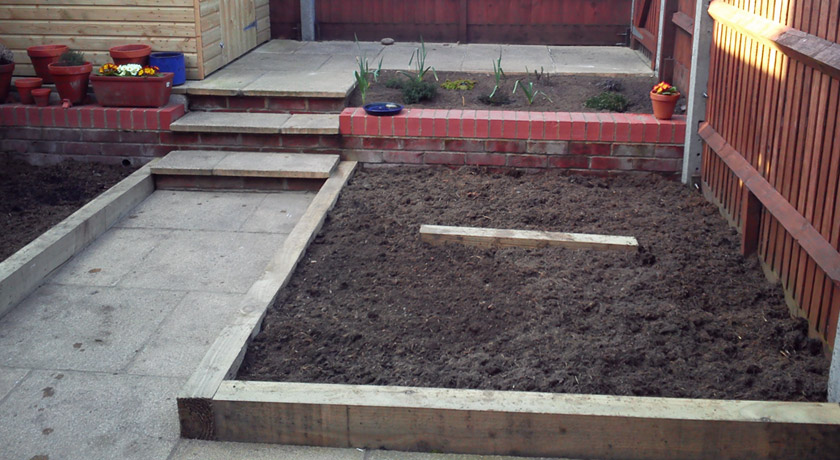
Building the raised beds was a big victory because it mean’t we finally had growing space! If you follow my blog regularly you will know that when we moved in the garden looked like this:

The back garden was completely paved with large areas of pebbles. It was a bit of a sad sight but also a blessing because it mean’t we could start from scratch rather than clearing out lots of things we didn’t want…after we got rid of the bloody pebbles. Hooray for Freecycle!
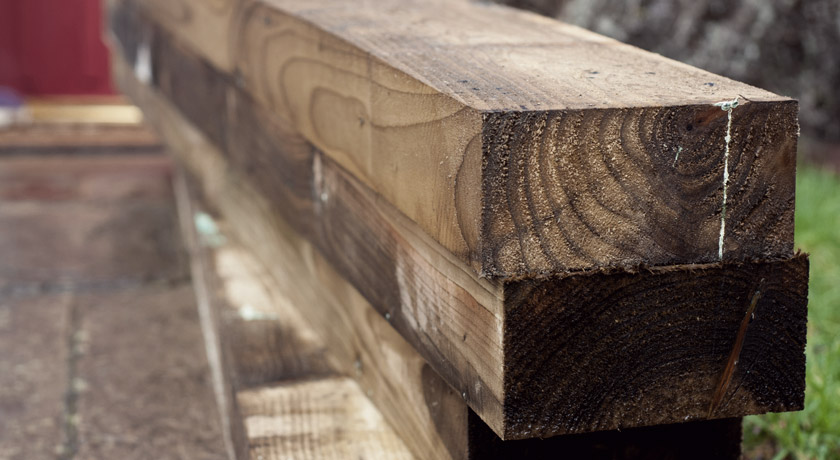
We planned to grow vegetables in the raised beds so we wanted wood free from creosote and other nasty chemicals. The main hurdle was finding a company that could delivery to our area for a reasonable cost. In the end we bought 2.4m softwood sleepers from AVS Fencing.
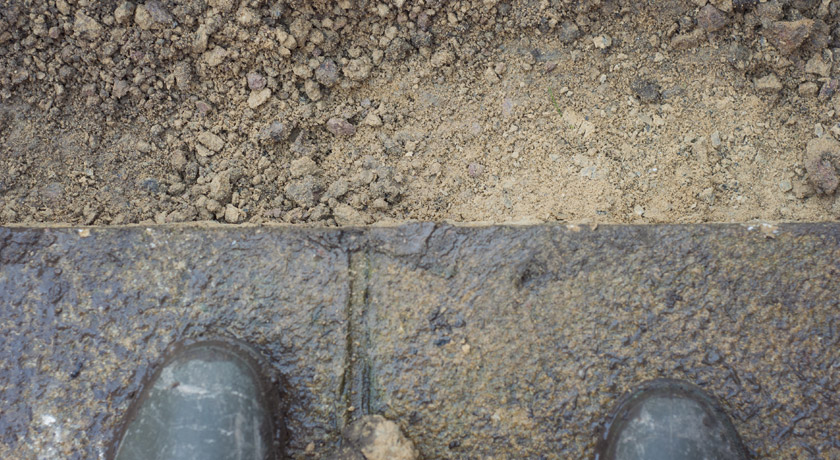
Building raised beds is easy right? Well, sort of. When we cleared the stones we realised we could drop the sleepers inside the area were the stones use to be and that the paving slabs were tall enough (20mm) to hold the sleepers in place. The only bad news was that we had to clear some of the concrete that had squidged out and set when the paving had been layed originally.

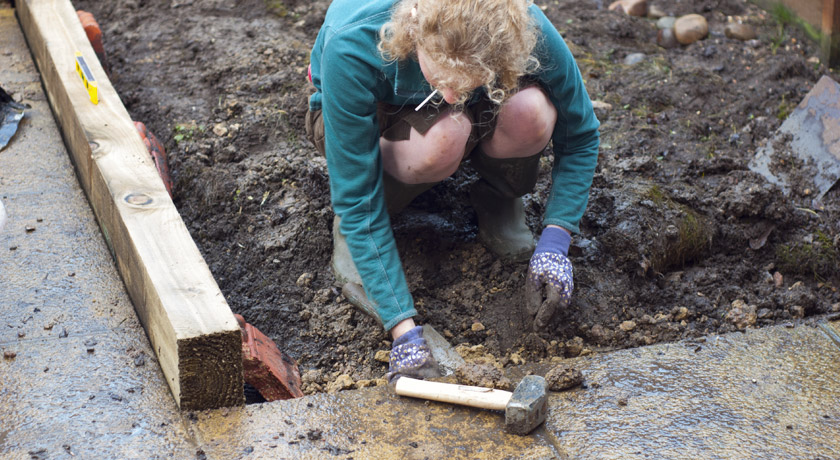
Scott started cutting the sleepers while I removed the extra concrete. Our neighbour kindly asked us if we would like to borrow his chainsaw but we politely declined through fear of cutting eachother in half by accident.

After a considerable amount of bashing, a plate of cheese on toast and half a pack of Cadburys chocolate fingers, the concrete had been cleared.
It was time to start laying the sleepers in.
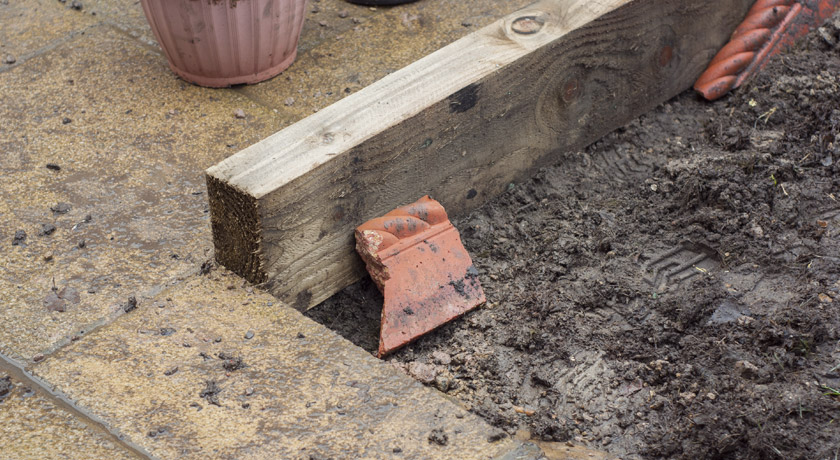
And propping them in place with bits of terracotta edging from the front garden.
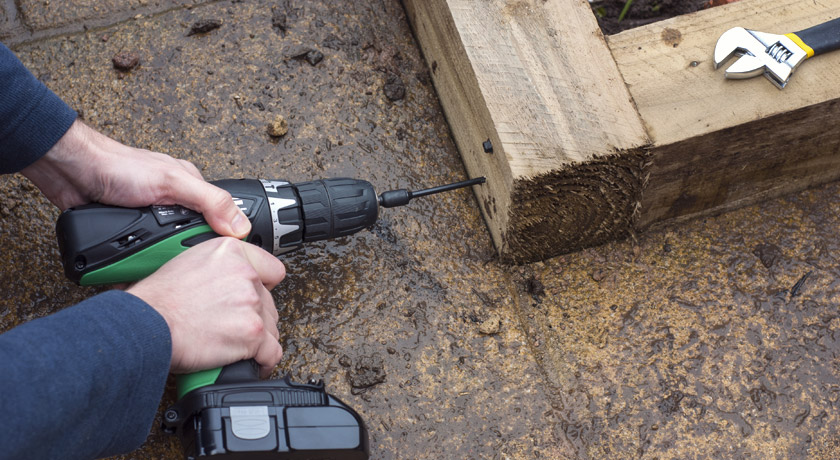
Securing the sleepers with bolts (200mm Timberlok Landscaping Screws) was a bit tricky. Our drill didn’t seem to have enough power to drive the bolts through the wood. Scott’s Dad suggested putting the drill on continuous drilling and low torque. It worked a treat.
Look at this lovely neat join!
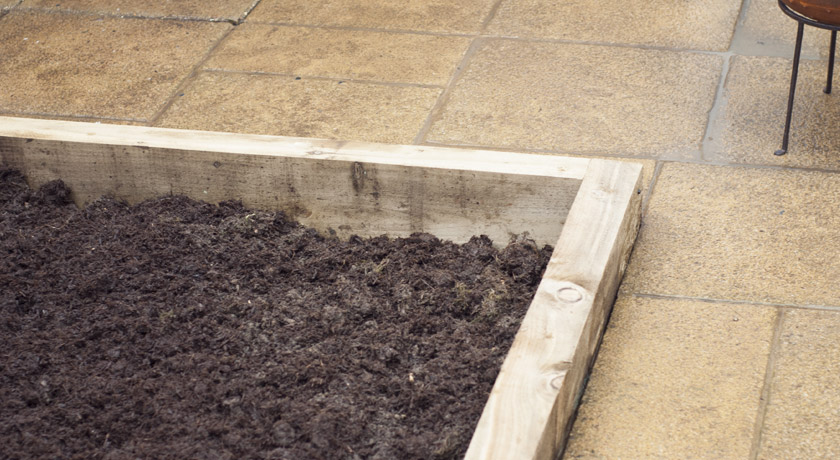
A few weeks later…
The topsoil and compost arrived and the beds were ready for filling with seeds and plants. Exciting!

I can’t tell you how great it is to have soil in the back garden now. It has also made the space feel alot larger. If you want to follow what we fill them with, check out my garden blog posts.
0 comments on “Building raised beds”