On Saturday morning I headed over to Mummy Barrow‘s (Tanya) house for a taster silver clay workshop run by the lovely Emma of Silverpebble. There were six of us all together including fellow nature buff Annie (Fable & Folk) and willow weaver Judith. By the end of the session we were told we’d come away with 2-3 pendants to hang on a silver chain.
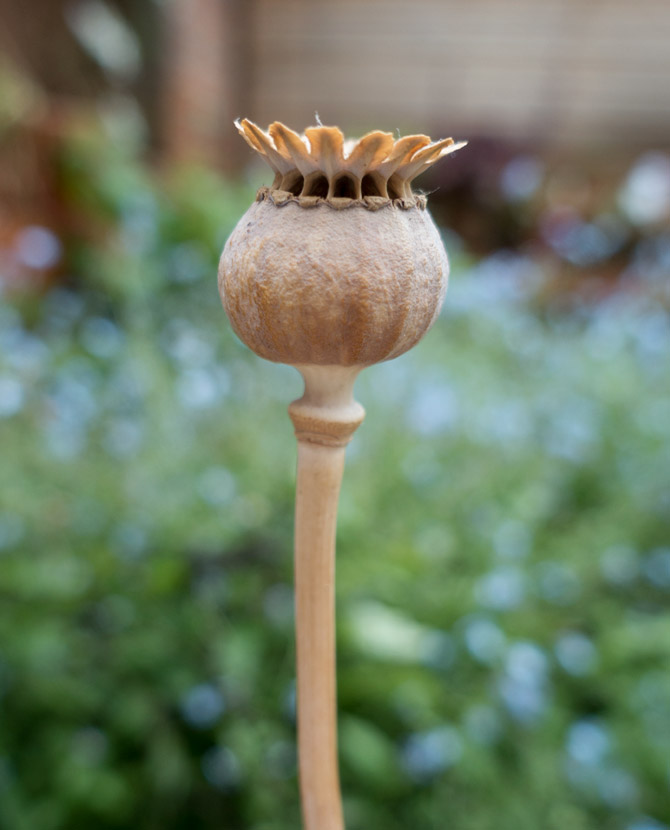
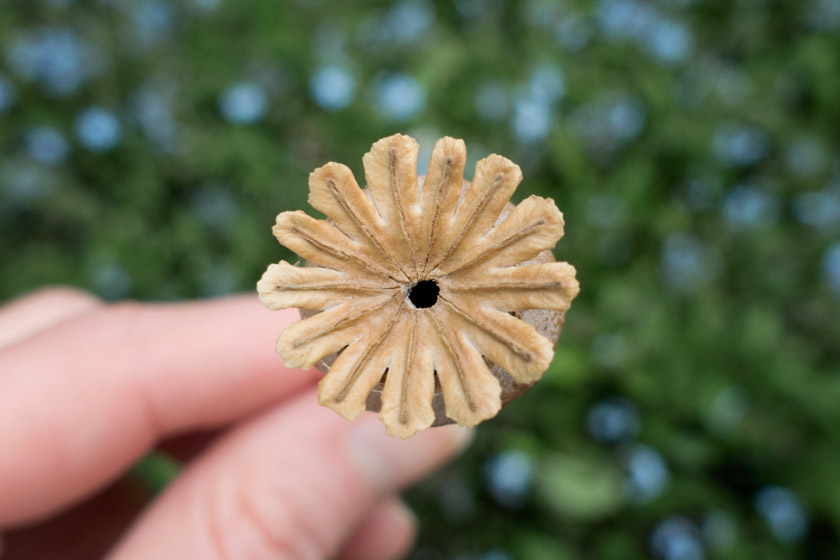
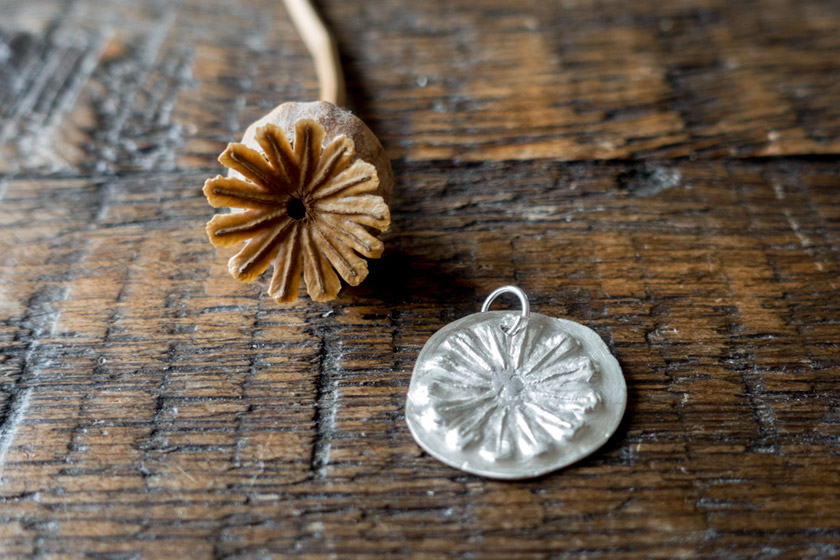
Emma asked us to bring anything with an interesting texture. The first thing that sprung to mind was a poppy seed head; I have a collection of them on my shelf in the office. Other than that I took a few leaves and some forget-me-nots but the flowers had wilted by the time we started.
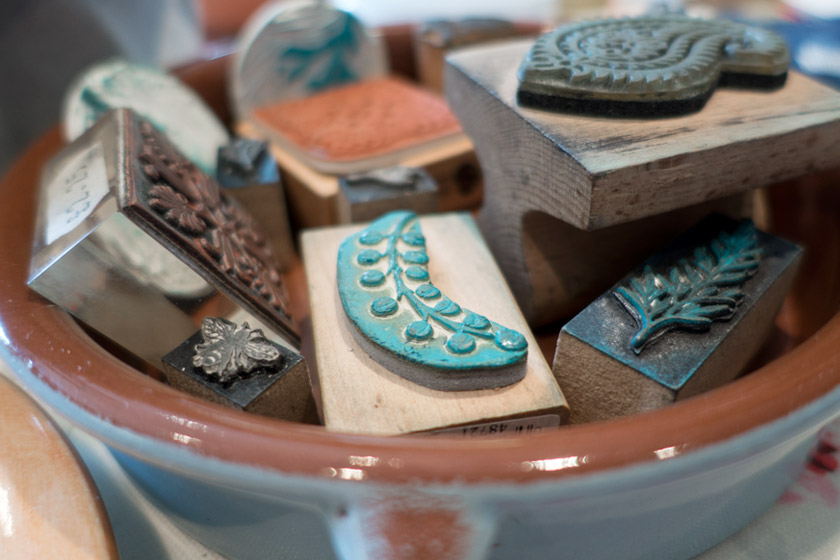
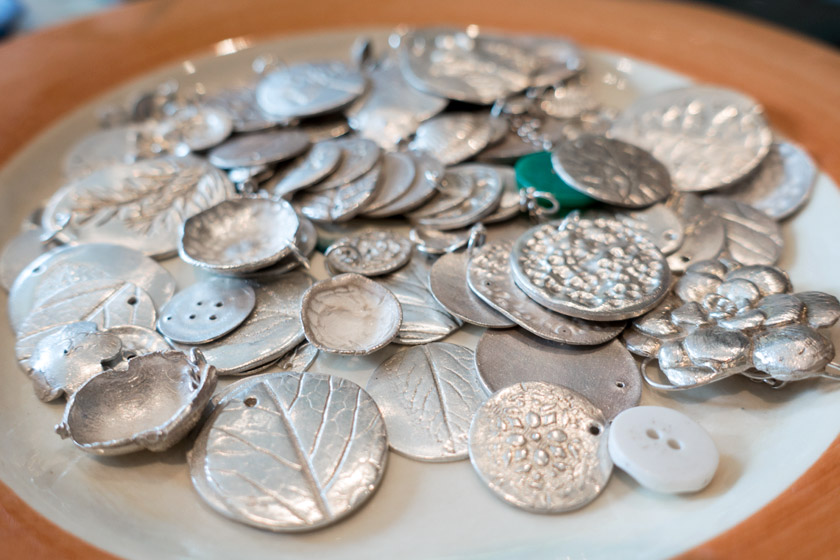
Thankfully Emma had bought along lots of ready made moulds, stamps, buttons to use and some silver pendants for inspiration.
First we were introduced to the materials used in silver clay — tiny particles of recycled silver mixed with a non toxic organic binder (paper) to make it malleable. The silver is stripped from e-waste components like circuit boards and mobile phones. Discovering this material was made from perfectly good metal that would otherwise never be used again, made me feel good about working with it.
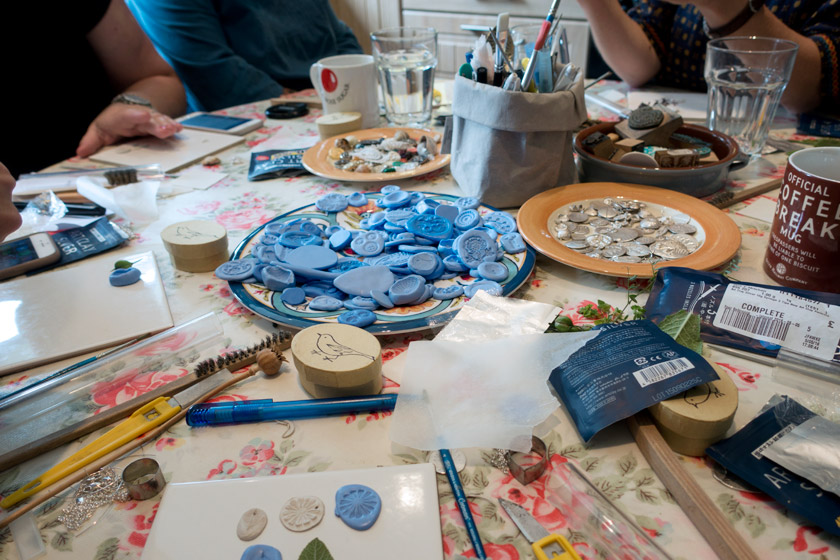
After a demo of two techniques (moulds and imprinting) we were let loose on a table full of craft supplies! Yippeeee!
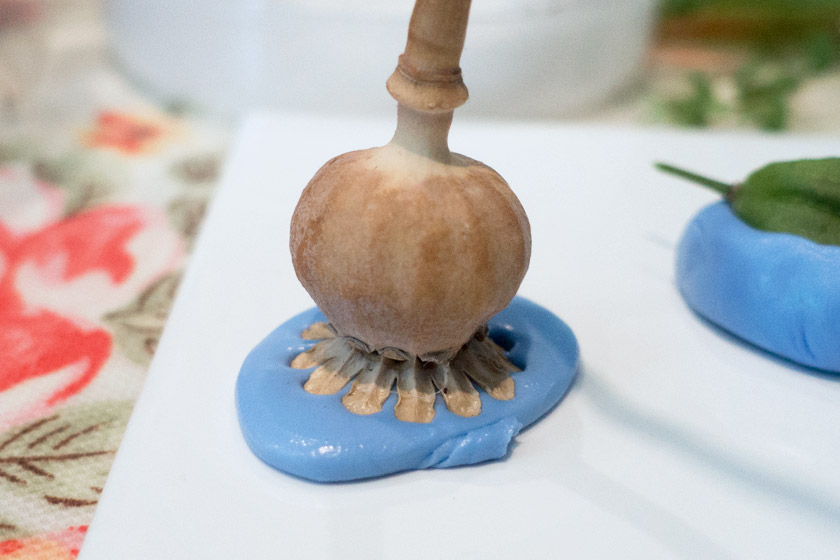
We used a clever moulding compound to make moulds of some of our found objects. This is my poppy seed mould in progress. It’s very pliable to begin with and doesn’t stick which mean’t my seed head came out intact.
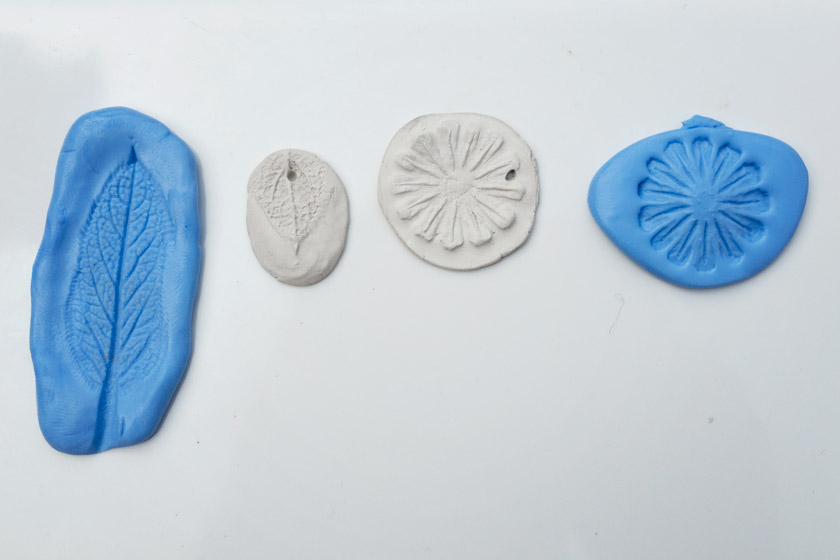
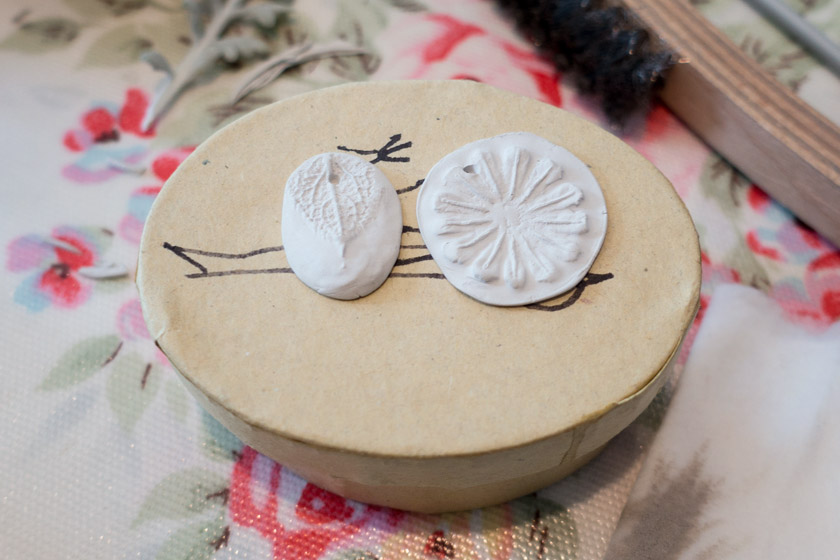
These are the moulds I used to make my pendants; leaf on the left and poppy on the right. We had to shape our clay surprisingly quickly because as soon as it came into contact with air it started to dry.
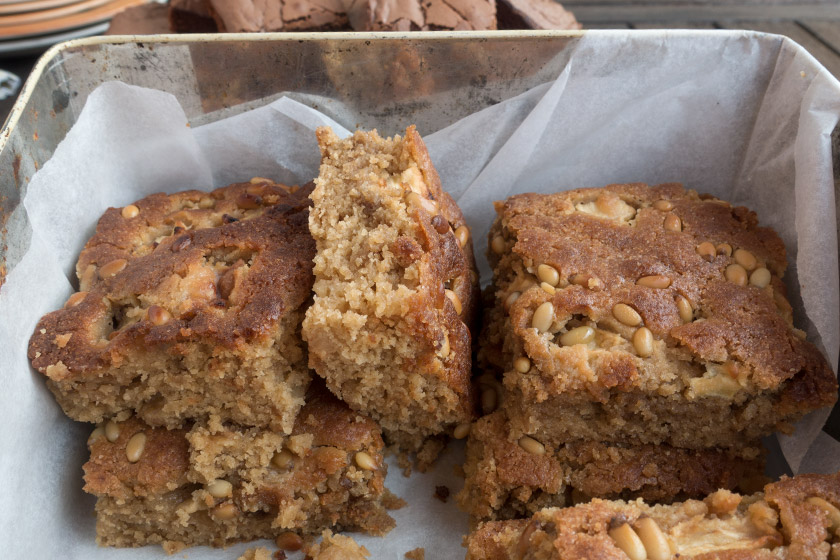
While our pendants were drying in the oven we sat outside in the sunshine and ate homemade cake. The brownies (not pictured because I was too busy eating them) were so good, three fell into my mouth. In my defence they were small slices. I also went home with a bag of brownies for Scott — thanks Tanya!
Back in the kitchen our pendants were removed from the oven. We did a bit of shaping and neatened up any rough edges. You’ll notice they are much white in colour now.
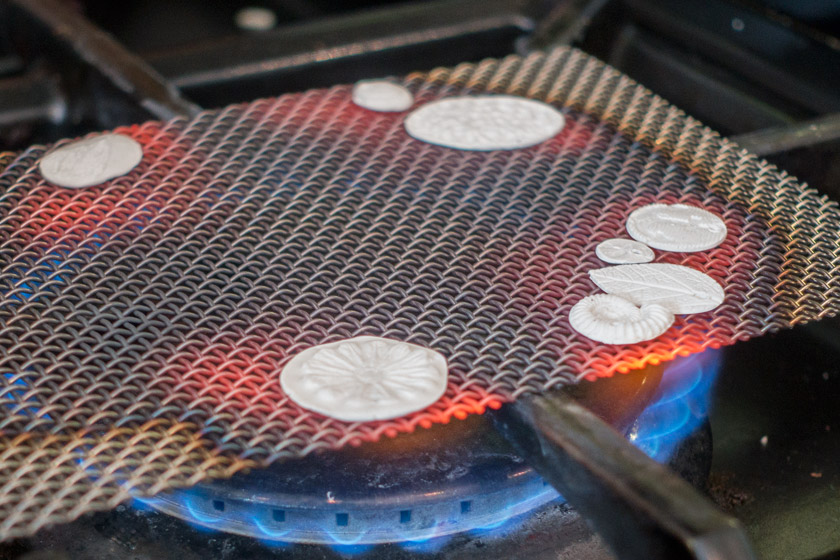
Emma carefully fired them on the hob. They caught fire as the impurities burnt off and the silver bonded. Not the best photo as I was trying to avoid melting the from of our camera, but you get the idea.
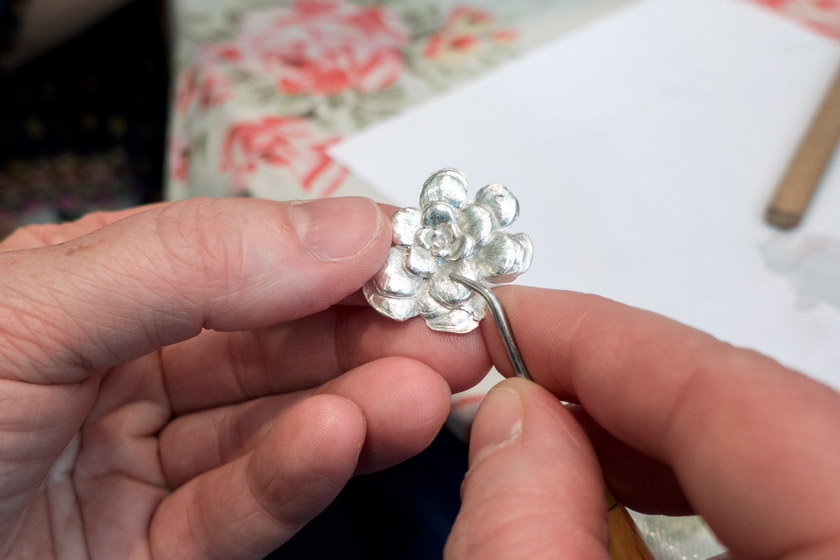
Then for the magic. A bit of a tickle with a wire brush revealed bright, shiny silver.
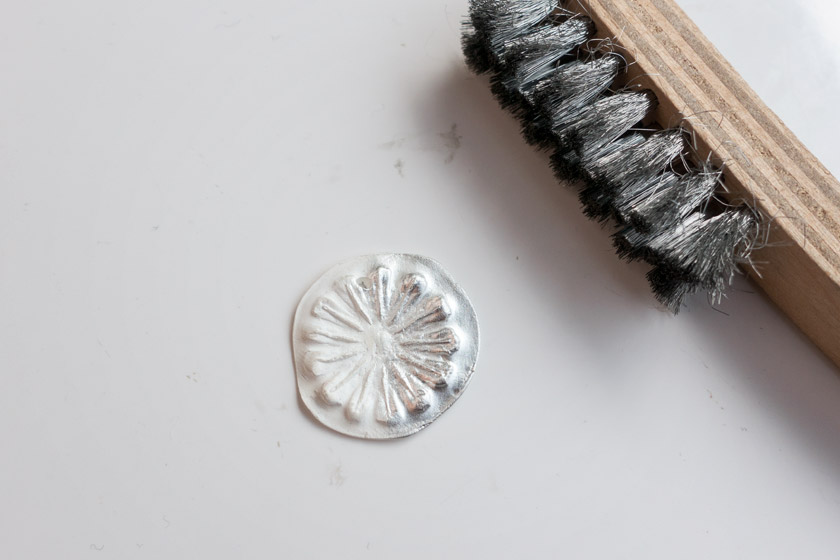
When she demonstrated this, every single one of us let out a gasp! Before you think we’re all nuts remember that our pendants started off as squishy grey blobs. These grey blobs were pushed into moulds, baked and burnt, filed, they morphed into something resembling a Rennie tablet and after all that, finally became solid silver.
To be honest, I think I love the process just as much, if not more than the piece of jewellery I made. As Emma said, I’ve essentially created a fossil. In the case of my leaf pendant, the living thing I pressed into clay will be dead in a few days and I’ll have the only ‘copy’. And even if someone were to use the mould I made, their outcome would never be identical to mine.
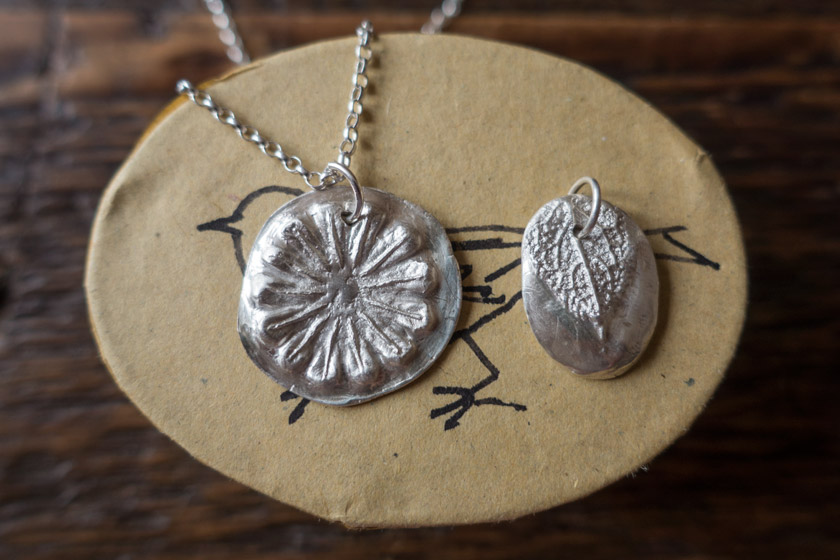
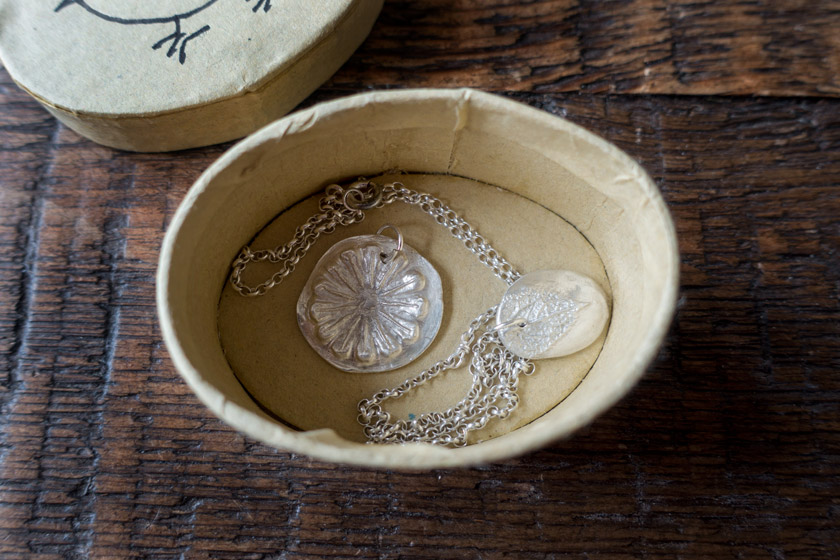
I had such a good morning. Crafting, eating cake and meeting new people who share the same enthusiasm for all things nature. Also I came home with two silver pendants — made by me!! Since the workshop I keep looking at things thinking, “that’d look really nice pressed into clay”. But if this is to become a hobby I need to start doing some serious neck exercises; going to need plenty of strength for carrying all those pendants around…
Absolutely beautiful! What an amazing time. I looked at silver clay a while ago, you may have convinced me to give it a go. Love the outcome.
I definitely want to do it again, it was lots of fun. Metalclay.co.uk seem to sell everything we used in the workshop. Post photos if you give it a go (I’m nosey!).