Embroidered wood buttons
I saw some embroidered wood discs and thought something similar would look lovely attached to Christmas presents.


A few weeks ago I started thinking about Christmas. Early I know, but if you're a crafter with lots of ideas, you have to start unacceptably early to get everything done in time without chaos!
I saw these embroidered wood discs and thought something similar would look lovely attached to Christmas presents. I'm a 'wood novice' but had enough basic tools in the loft (hacksaw, sandpaper, drill) so all I needed was a piece of wood. I went to the park and found a branch the right thickness and got started.
Make your own embroidered Christmas buttons
1. Find a tree branch
You are looking for a branch that is the diameter you want your finished buttons to be and free from fungus and mould.
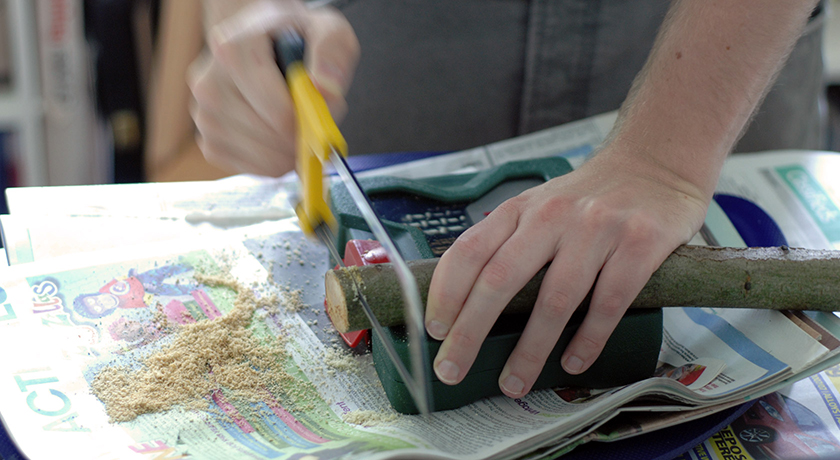
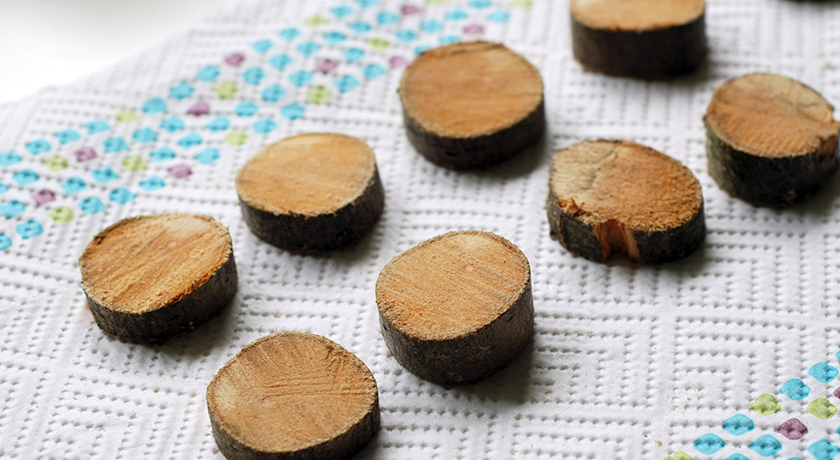
2. Cut the branch into discs
The first task is to mark and cut the buttons to the thickness you want. I originally cut the branch when it was wet and allowed them to dry out for a few days.
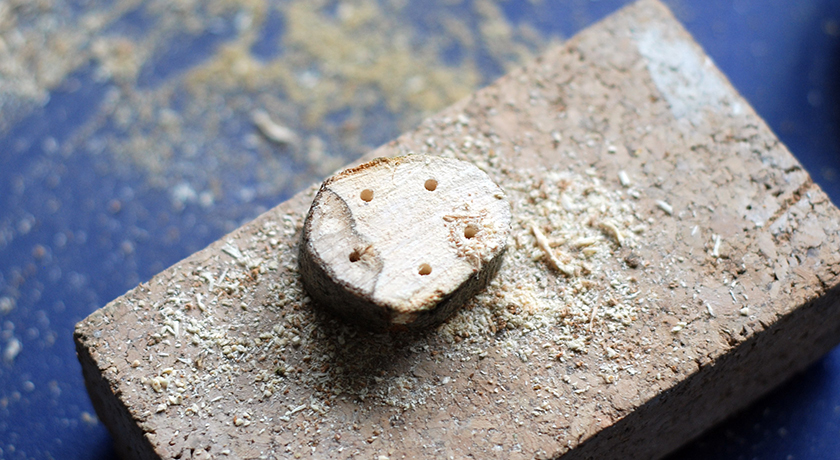
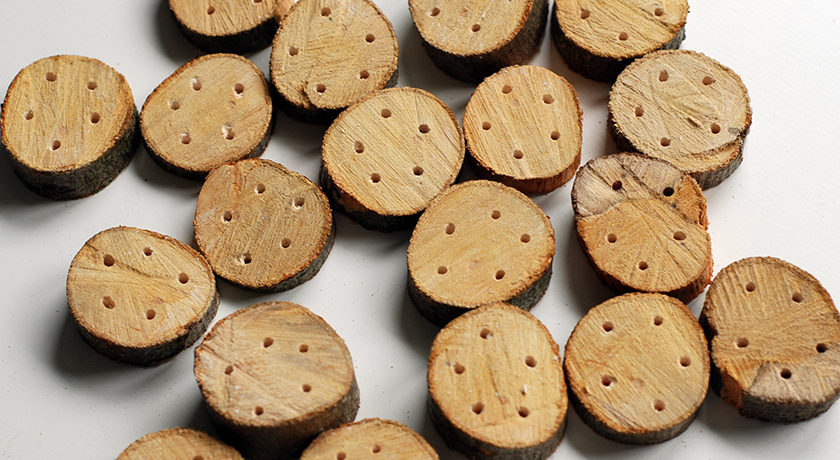
3. Drill holes for embroidering
Once dry, I drilled 5 holes - one for each point of a star.
4. Sand until smooth
I sanded mine with coarse, medium and fine sandpaper until they were smooth. Unfortunately I bought 'Value' sandpaper - there's a reason it's cheap. All you have to do is breathe on it and all the particles fall off. So do yourself a favour and buy some decent sandpaper if you've got alot of sanding to do.

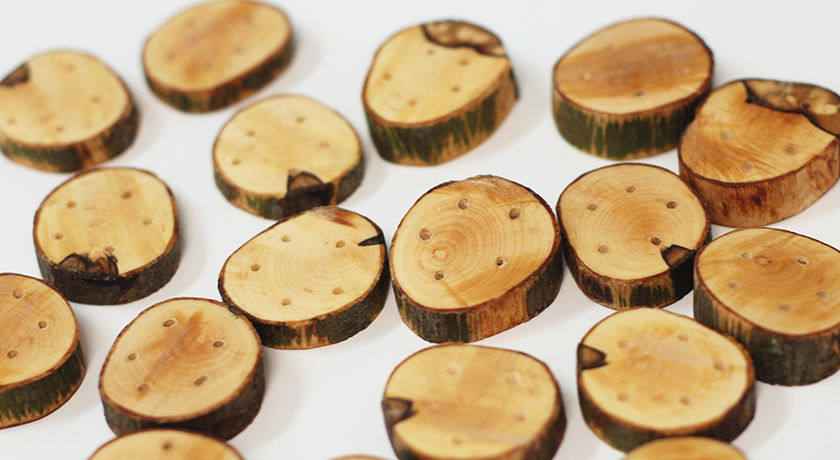
5. Apply oil to condition the wood
I wiped off all the dust and applied a light coat of olive oil to condition the wood. Once that coat dried, I applied a further two which really helped bring out the tree ring patterns and add colour.
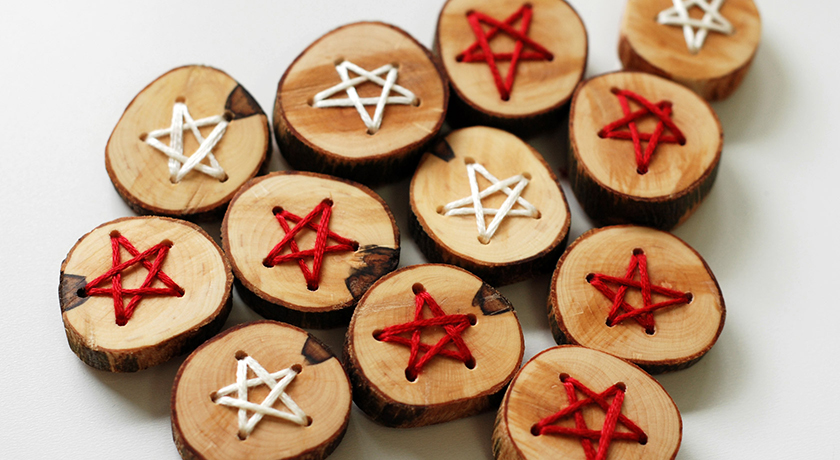
6. Embroider with thread, ribbon, wool, anything you like. Get creative!
I embroidered stars onto my buttons with coloured embroidery thread (details at bottom of post). You can tie them onto the ribbon of presents, hang on your Christmas tree or scatter into a bowl of pine cones.
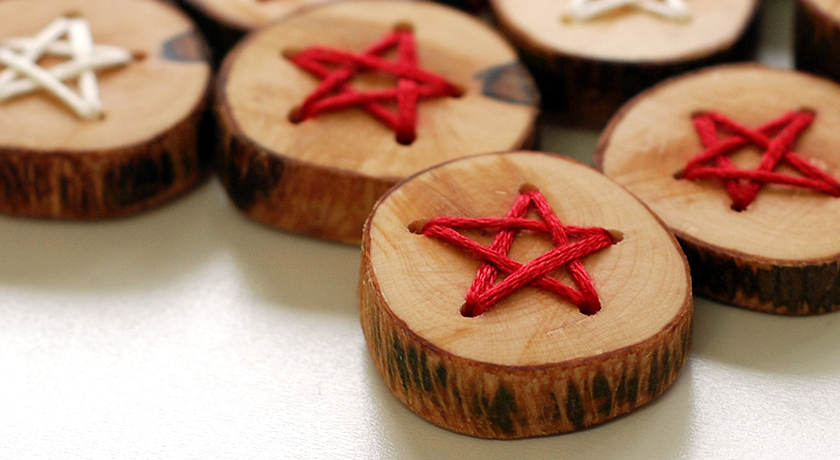
These buttons have been a labour of love. This was my first project using wood so there are probably alot of things I could have done better but I've really enjoyed just getting stuck in. I used basic tools, which made the end result feel more special because so much hard work had gone into them.
Things I'll do differently next time:
- Let the branch dry out before cutting the disks as getting the hacksaw through so many was hard work at times!
- Make and apply a 'wood butter' made from beeswax and olive oil to condition the wood. The olive oil coating will be fine but the beeswax would seal them
- Not scrimp on sandpaper!
Notes
- Thread: Anchor Stranded Mouliné 9046 (red) and Anchor Stranded Mouliné 275 (off white)
- Olive oil: any brand from the supermarket will do