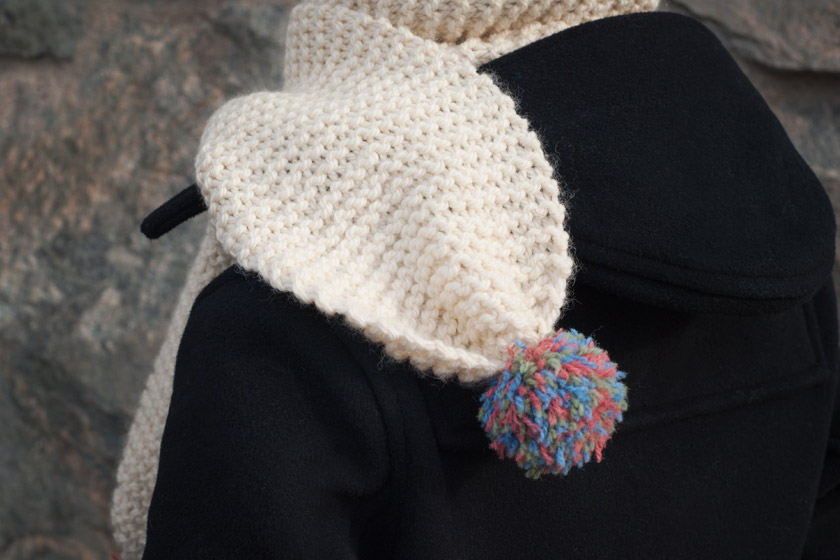
Pom pom scarf tutorial

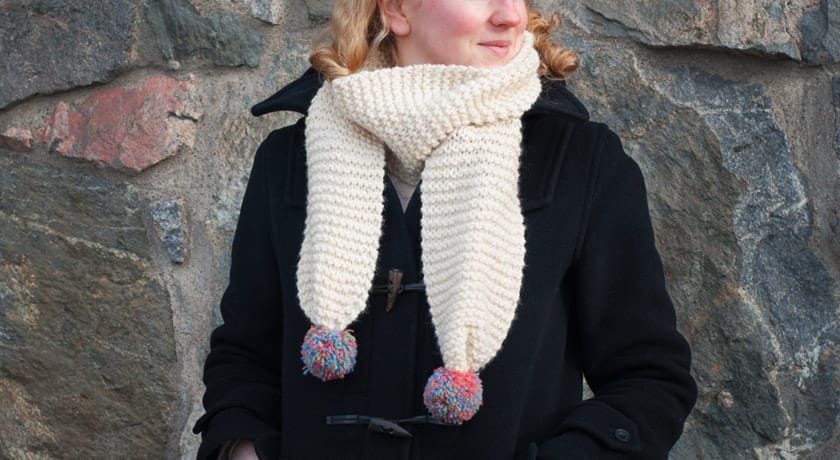
I have a free knitting pattern for you! A warm and snuggly pom pom scarf. These scarves have been making an appearance in the shops lately but I made my own because none of them were quite right - I'm picky when it comes to wooly items! My pattern is knitted almost entirely in garter stitch making it a great project for beginner knitters.
* Please do not post this pattern elsewhere without my permission, thank you! *
This scarf is made from pure wool but if you want something cooler to wear during the Spring, a cotton or acrylic yarn would work equally as well.
To make your own knitted pom pom scarf you will need:
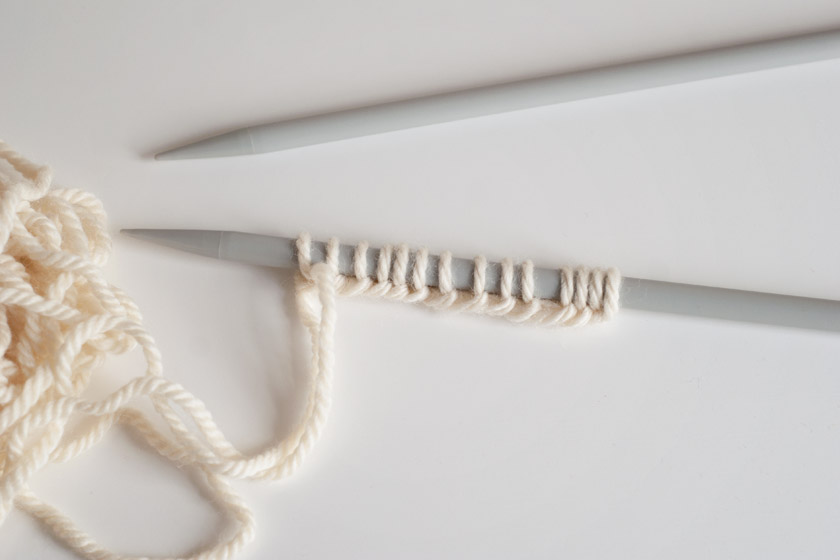
- A pair of 8mm knitting needles
- Approx 220m of chunky wool (I used 2 balls of British Sheep Breeds Chunky Undyed)
- Wool needle
- A few extra metres of wool for making pom poms
- Scissors
Pom pom scarf knitting pattern
Knitting abbreviations used in this pattern:
- k: knit
- kfb: knit in front and back (tutorial)
- K2tog: knit two together (tutorial)
- (x) eg (16): number of stitches in a row
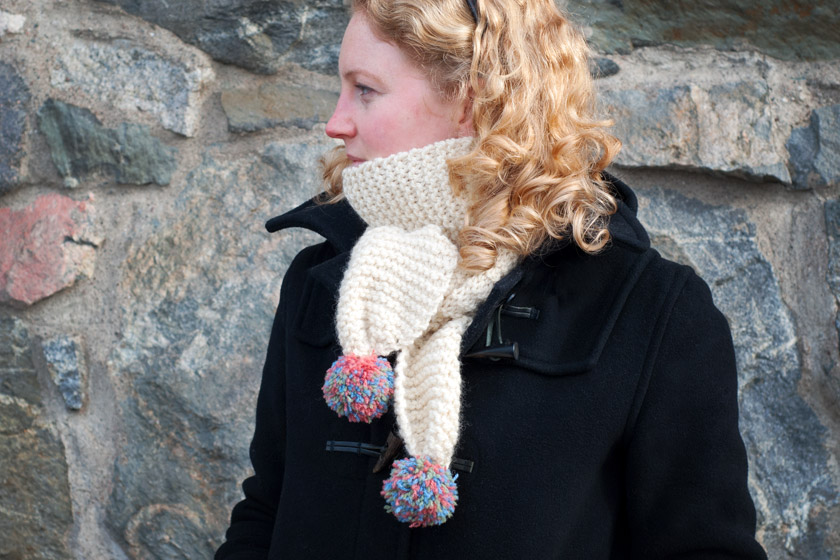
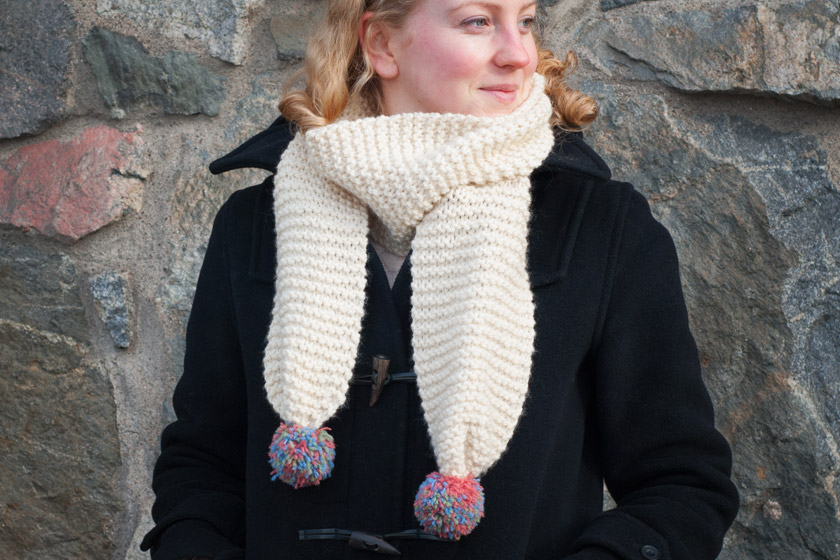
The finished dimensions depend on how many rows you want to knit but as a guide, the scarf in the photos is 15cm wide (22 stitches) and 168cm long (160 rows). I can wrap it around my neck twice - although it's only wrapped once in these photos. Just keep trying it on as you knit and you'll soon find the right length.
Cast on
Cast on 14 stitches.
Increases/shaping for first end
These stitches gradually increase the width of the scarf, helping to reduce the amount of bunching around the pom pom.
Row 1: knit all stitches (14 stitches in total)
Row 2: k1, kfb, k10, kfb, k1 (16)
Row 3: knit all stitches
Row 4: k1, kfb, k12, kfb, k1 (18)
Row 5: knit all stitches
Row 6: k1, kfb, k14, kfb, k1 (20)
Row 7: knit all stitches
Row 8: k1, kfb, k16, kfb, k1 (22)
Knit the main area of the scarf
Row 9 onwards: Knit all stitches for as many rows needed to achieve the desired length (22).
Decreases/shaping for the last 8 rows
Row 1: k1, k2tog, K14, k2tog, k1 (20) Row 2: knit all stitches Row 3: k1, k2tog, k12, k2tog, k1 (18) Row 4: knit all stitches Row 5: k1, k2tog, k10, k2tog, k1 (16) Row 6: knit all stitches Row 7: k1, k2tog, k8, t2tog, k1 (14) Row 8: knit all stitches
Then bind off.
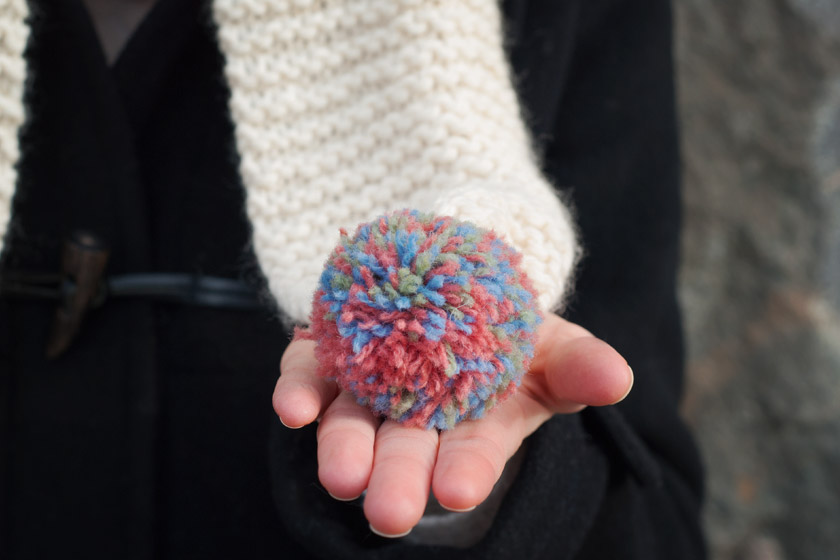
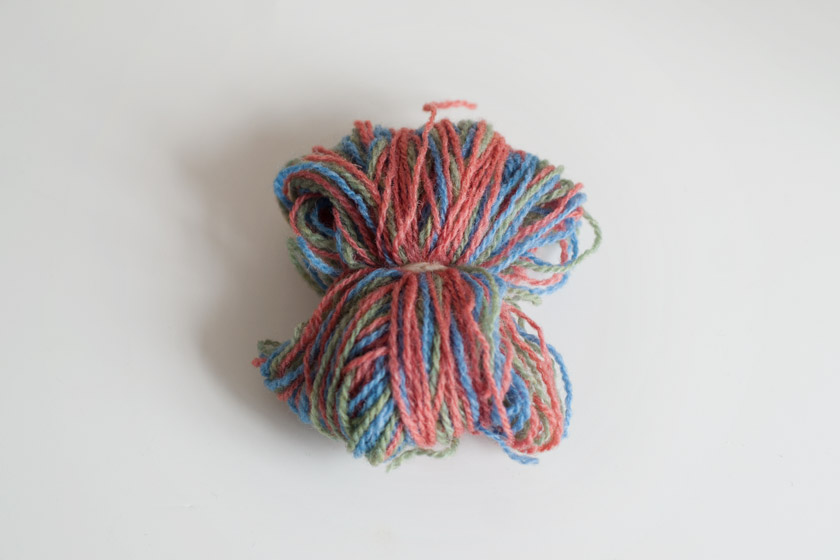
How to make a pom pom
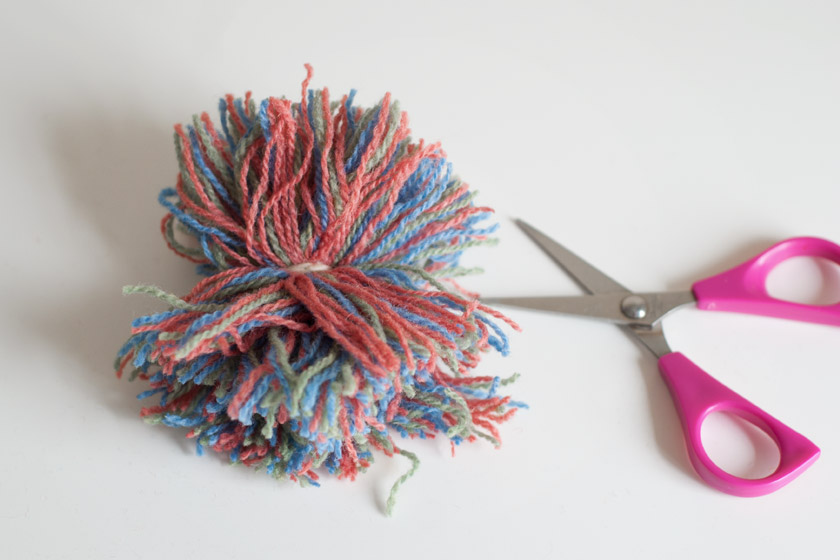
Making the pom pom is super easy. Spread your fingers apart a little and wind the wool around your hand until you are happy with the size. Wrap a new piece of wool around the middle and tie in a tight knot.
Cut the loops either side of the knot with a pair of scissors.
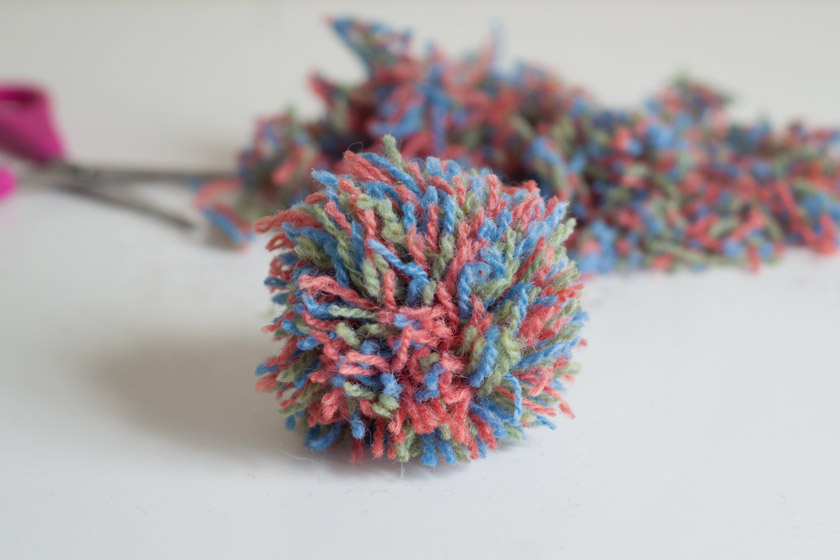
Trim into the desired shape. The shorter you cut the strands of wool, the denser your pom pom will be.
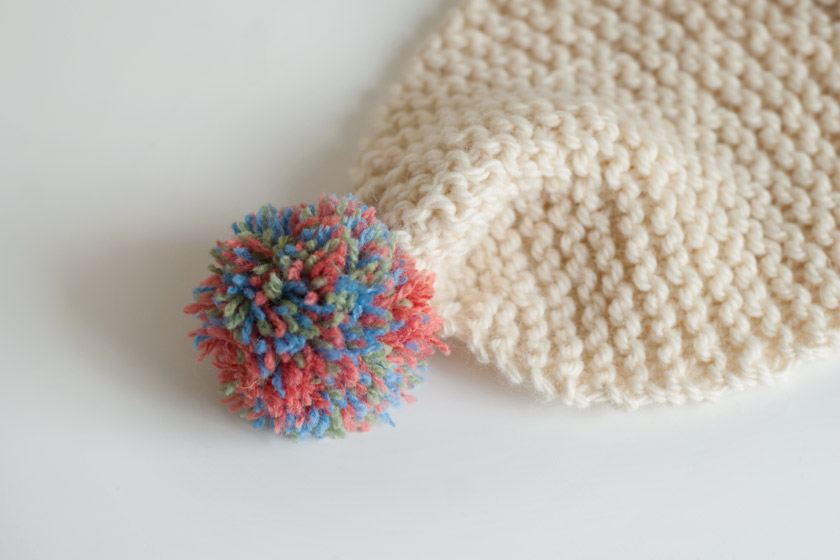
To attach it to the scarf, run a wool needle through the stitches at the end of the scarf, then through the centre of the pom pom a couple of times. Tie a knot to secure.
And then your scarf is ready to wear!
Don't forget to send me links to photos of your handy work, I'd love to see what you've made. Also, if you are new to knitting and get stuck with this pattern drop me a comment and I'll see if I can help you.
Happy knitting! x