DIY painted terracotta pot

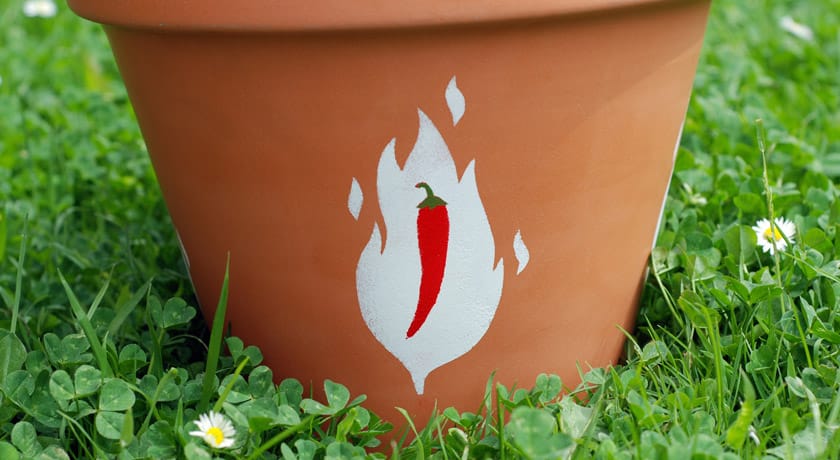
I've been reading Gifts From the Garden by Debora Robertson which has inspired me to look at how plants can be given as gifts. So this year for Father's Day I gave my Dad a plant. Nothing floral or girly. A chilli plant - practical, edible and manly. I wanted the plant to look like a gift rather than something I'd picked up at Homebase so I painted a terracotta plant pot with a chilli design. If you want to make your own chilli themed painted terracotta pot, follow the instructions below.
How to paint a terracotta pot
You will need:- Terracotta pot
- Acrylic paint
- Masking tape
- A sponge (a clean, dry dish sponge will do fine)
- PVA glue or Mod Podge Outdoors
- Water
- Mixing bowl for PVA sealer mixture
- Clean paintbrush for sealer mixture
- Old compost bag for lining (optional)
1. Clean your pot
Wipe a dry scourer over the pot to remove any dirt or dust. If it's really dirty, wipe with a damp cloth afterwards and allow to dry.
2. Choose your design or use my chilli stencil
You can do anything you like, the only limit is the size of your pot. If you are stuck for ideas, you can download my free chilli stencil.
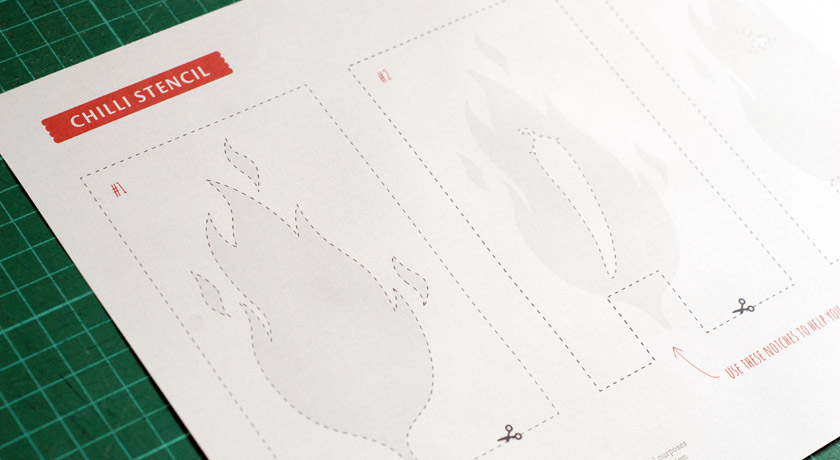
3. Cut out your stencils

Cut out the 3 stencils: leaf, chilli and chilli stalk with a scalpel or craft knife. Don't worry if you have a few wobbly edges, it adds to the handmade feel! If you break your stencil just repair it with a thin strip of masking tape.
4. Painting your terracotta pot
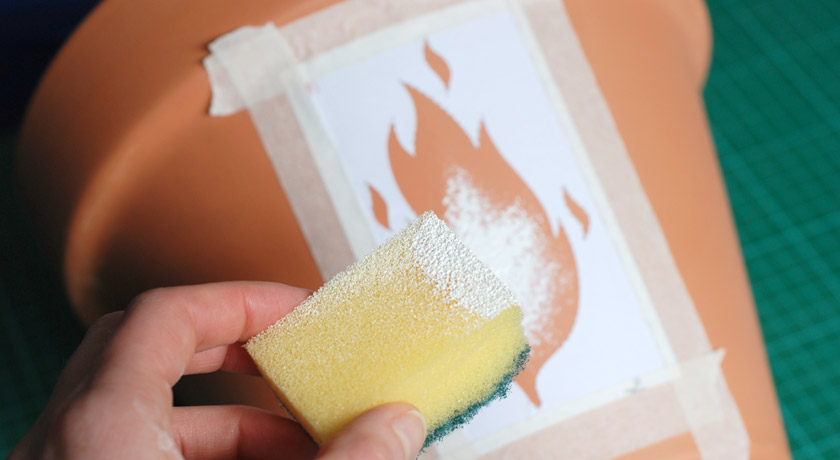
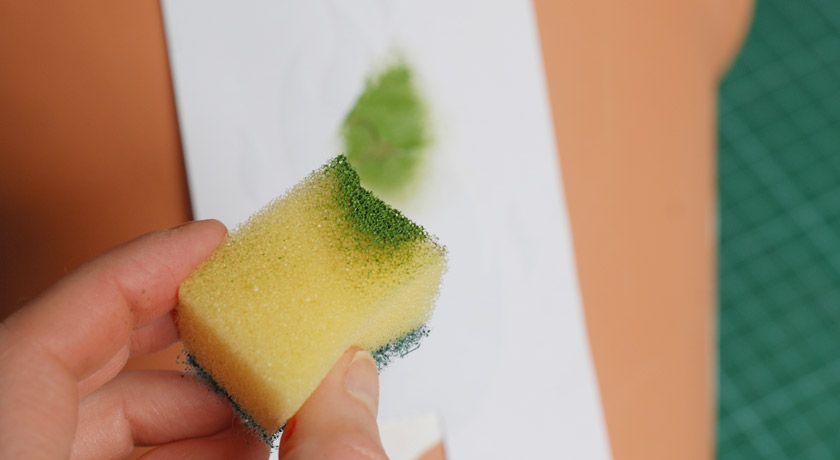
Stencil #1 - leaf and flame
Use masking tape to stick stencil #1 to your pot. To avoid leaving any marks, stick the tape to your clothing and peel off a couple of times. Make sure your stencil sits flat against the pot. If you have any spray adhesive (repositionable) you can apply a small amount to the back.
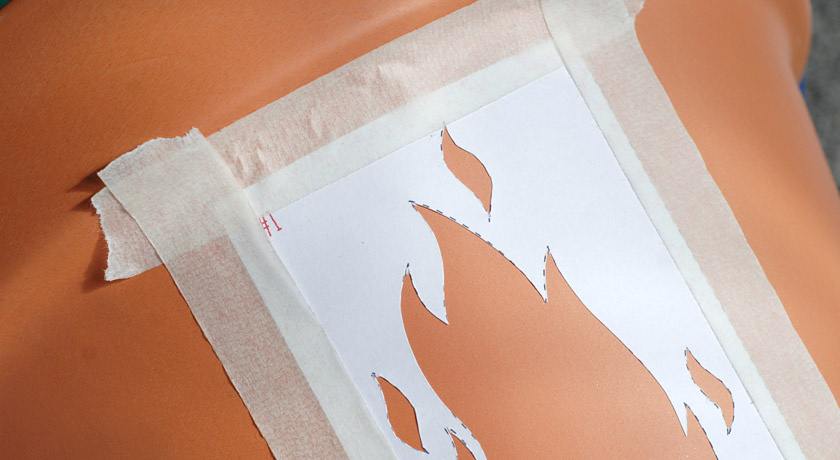
Apply acrylic paint with a dry sponge to get a textured appearance. It's best to build up thin layers of paint in order to avoid it seeping under your stencil.
Gently peel off your first stencil.
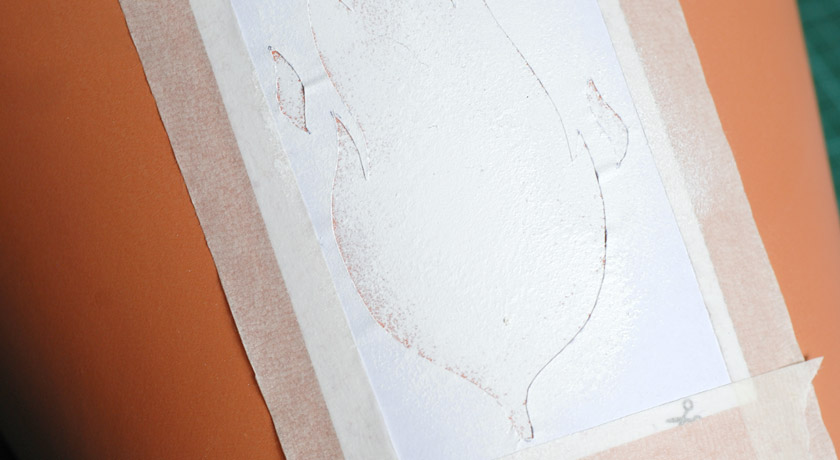
Allow to dry.
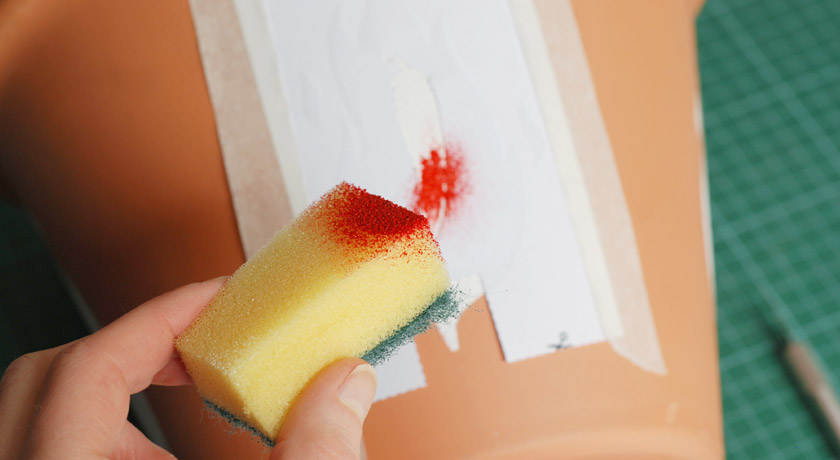
Stencil #2 - the chilli
I have added a notch to the bottom of stencils #2 and #3 to help you get the chilli in the right place.

Apply acrylic paint to the chilli with a sponge.
You're almost there!
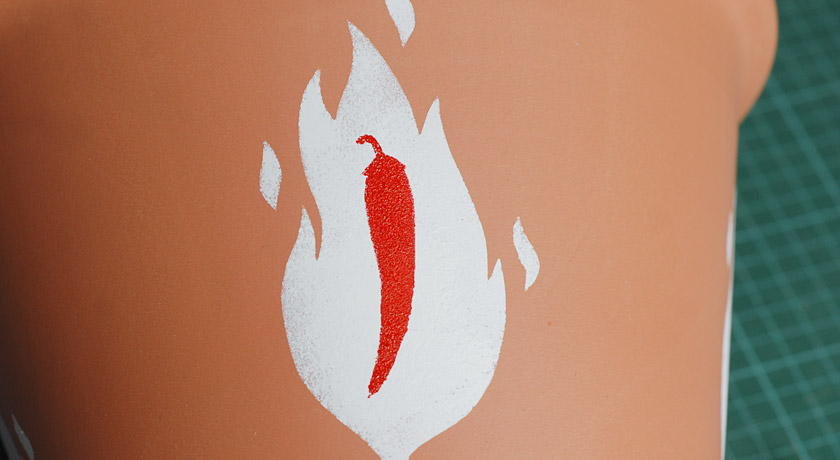
Peel off stencil #2 and allow to dry.
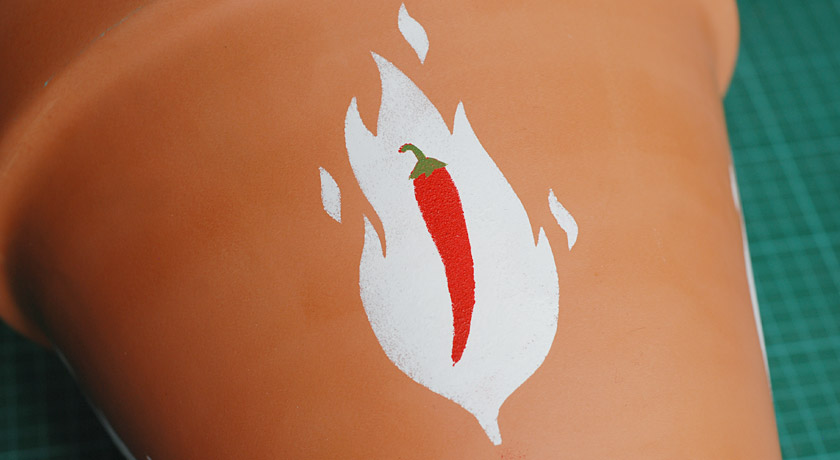
Stencil #3 - chilli stem
As you have done with the previous layer, line up the notches and apply your paint with a sponge.
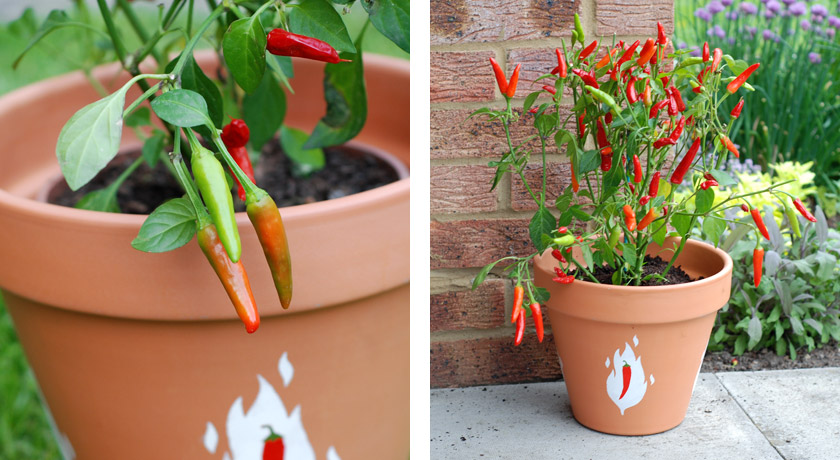
And that's it. Now you can admire your handy work.
Leave for about an hour or until the paint has fully dried.
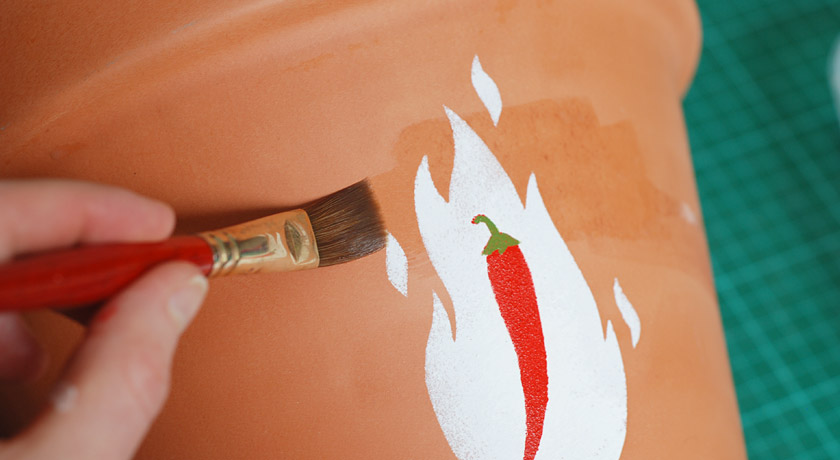
5. Seal your design (optional)
You can make a simple terracotta pot sealer yourself using PVA glue and water. Add 10 parts water to 1 part glue (10:1) and mix well.
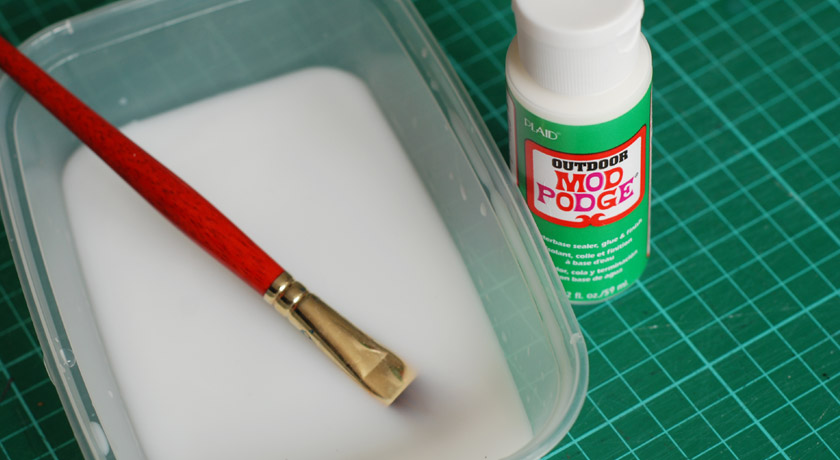
Apply several thin layers of PVA sealer to make your stencil more hand wearing and protect the pot from moisture.
6. Line or seal the inside of the pot
Lining or sealing the inside is important because terracotta is a porous material. Seal the inside with a plant friendly sealant or use an old compost bag as pot lining.
Don't forget to poke holes in the bottom for drainage or you'll end up with a smelly swamp pot.
7. Put your plant in its new home

Free printable chilli stencil
You can download my free chilli stencil for personal use. I'd love to see your chilli pots when they're done, so feel free to post a link in the comments below. If you want to credit this design on your own blog, a link to gemma.eggloo.uk will be much appreciated. Thanks! x