Recipe: Sultana free apple chutney

If you love chutney but hate raisins and sultanas, this recipe is for you. We have alot of raisin and sultana haters on both sides of the family. And whilst I like both, I really don't like either in chutney.
Last year I made green tomato chutney and swapped the raisins for extra tomatoes. The chutney was delicious but I didn't want to compromise on taste by substituting a large proportion of the ingredients. This year I was determined to find something without sultanas. My search lead me to: date chutney…sultanas. Onion chutney…sultanas. Spiced apple chutney…more bloody sultanas! I finally found an apple and onion chutney recipe on allrecipes.co.uk and you know what? NO SULTANAS! Aside from looking delicious it's also a good recipe for using up a glut of cooking apples.
I tweaked the recipe a little. My alterations were: an extra tablespoon of oil for frying, an extra 150g of apples for a better onion to apple ratio, garlic and ginger to make the recipe a little more savoury (and because I generally add garlic to most things), I reduced the amount of nutmeg and omitted the allspice.
Apple and onion chutney ingredients
- 2 tablespoons olive oil
- 500g red onions
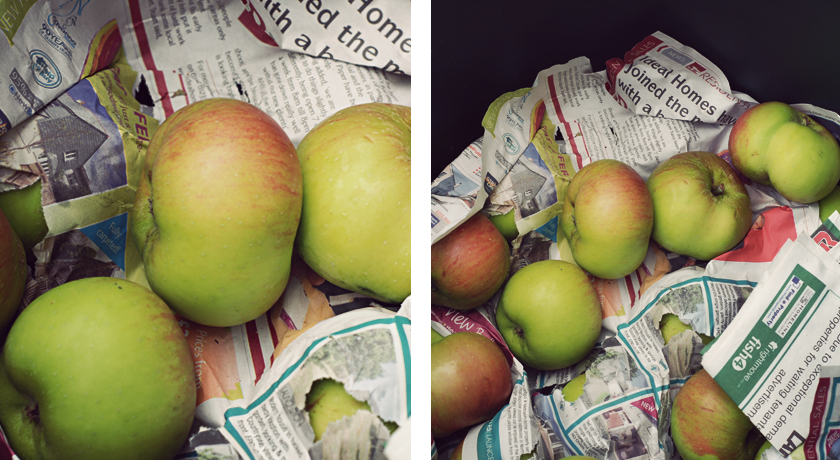
- 650g bramley (cooking) apples
- 300ml red wine vinegar
- 100g white granulated sugar
- 200g soft dark brown sugar
- 4 garlic cloves - minced
- 1.5cm root ginger - minced
- 1 tsp ground cinnamon
- 1/2 tsp ground nutmeg
- Large pinch of cayenne pepper
How to make apple and red onion chutney
1. Fry the onions
Chop and fry the onions in a large pan until soft - a jam making/maslin pan is ideal if you are making a large batch.
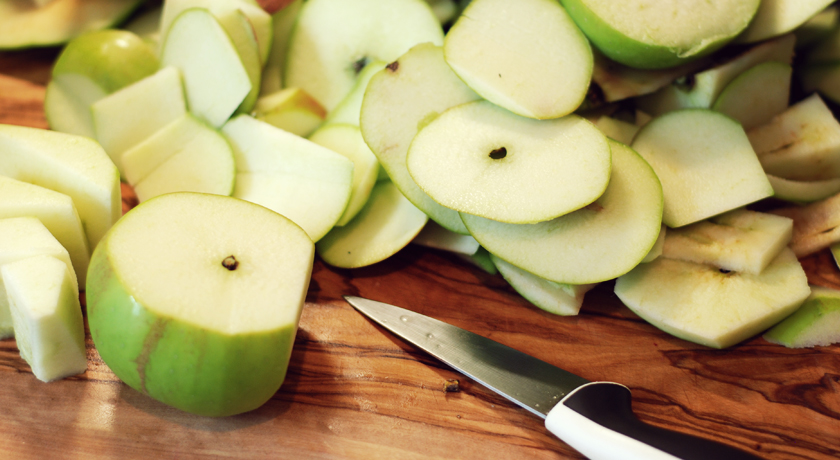
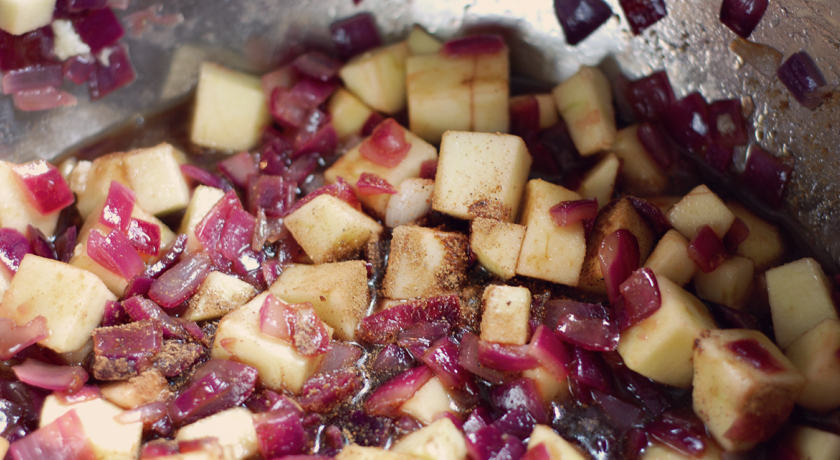
2. Peel, core and chop your apples
Peel, core and chop your apples into chunks of varying size. Some apple chunks will cook down and others will remain large giving your chutney a more interesting texture.
3. Add all your ingredients to the pan
Apple, vinegar, sugar, spices…the lot! Mix together.
4. Bring to the boil then simmer for 30 mins - 1 hour
The original recipe said to simmer for 30 mins but my chutney was still quite sloppy so I simmered it uncovered for nearly an hour. As long as you simmer (not boil) the chutney, the fruit will remain in chunks and the excess juice will be cooked away.
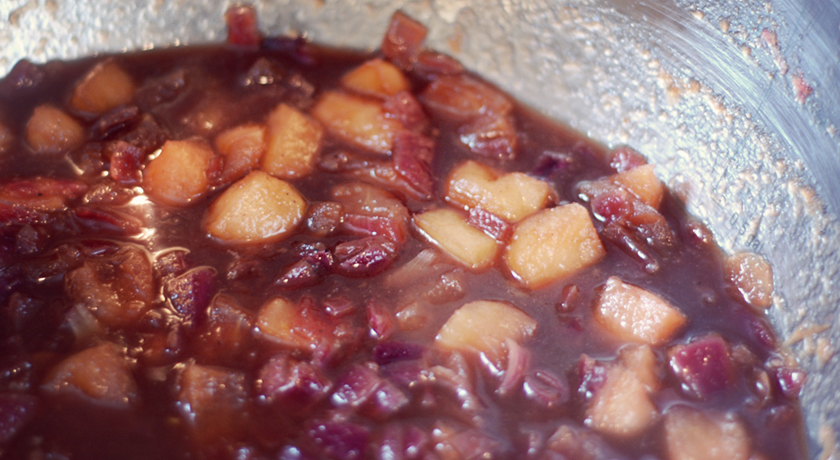
The lovely thing about this recipe is that it uses red wine vinegar which has a very mild vinegary taste. Malt and white wine vinegar are extremely stinky and in my experience, chutney made from either results in 'vinegar stink' where your house wreaks of vinegar for days. Red wine vinegar is much milder and when used with dark brown soft sugar, gives the chutney a rich colour.
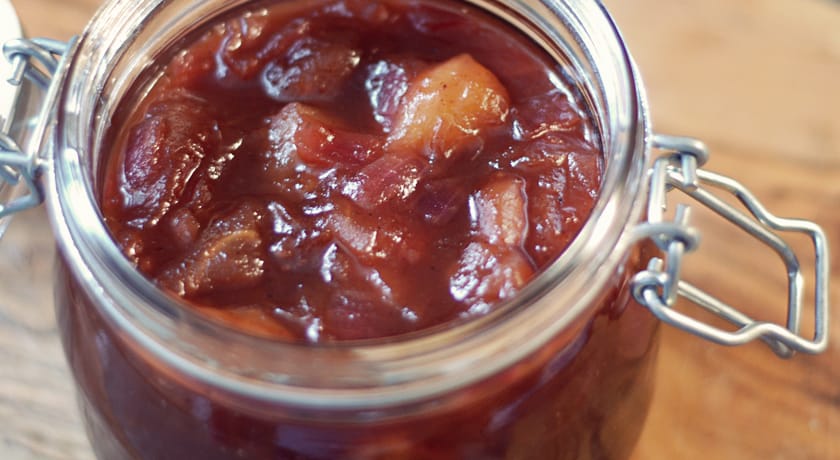
5. Transfer to jars and seal
Once your chutney has cooked down to the desired consistency use a jam funnel to transfer it to hot sterilised jars. Try and avoid getting chutney on the jar neck as this can affect the seal, making it more likely to spoil. Seal with sterilised lids straight away.

6. Leave for a few weeks
Leave your chutney in a cool dark place for a few weeks so help flavour and colour develop. We've already had a cheeky taste on bread with cheese and the chutney was absolutely delicious. It's going to taste fantastic in a couple of months time.
We plan to dig the rest out at Christmas to go on the cheese board and with leftover turkey and mash on Boxing Day. If you want an excuse to think about Christmas in November then making Christmas chutney is the perfect excuse!